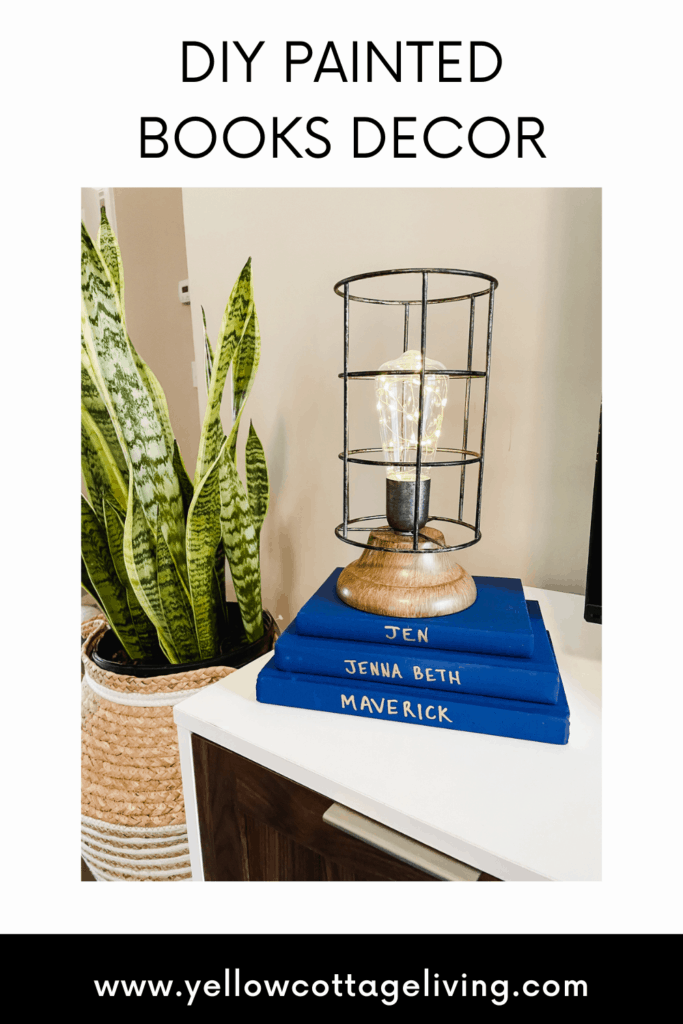
These DIY painted books decor are a simple and inexpensive way to add color to any room in your home.
A few weeks ago, I wandered into one of my local Dollar General stores. I looked for spring decor project pieces but came out empty-handed. But as I wandered the aisles, I stumbled upon these little battery-operated lanterns. They’re so cute, aren’t they?
*Disclosure: This post contains affiliate links. Any item you purchase earns Yellow Cottage Living a small commission at no additional cost to you.
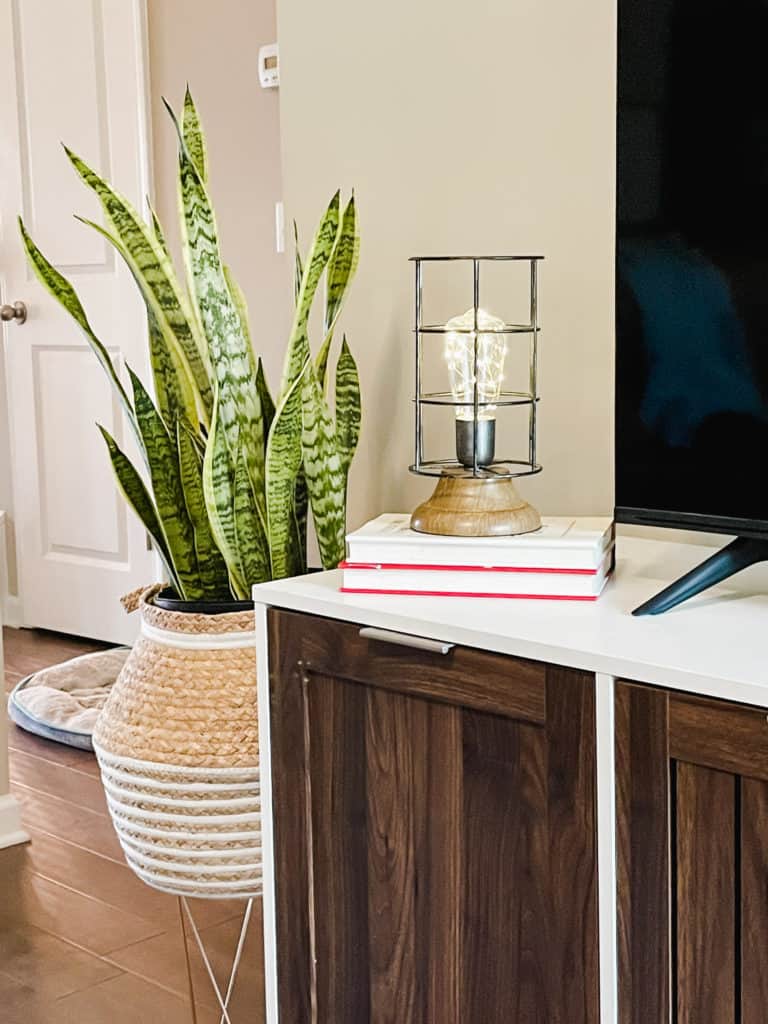
At first, I passed them up because I wasn’t sure where I’d actually use them. Then as I ran the rest of my errands for the day, it hit me – the perfect place for these sweet little lanterns! They would look perfect beside our living room TV. They’d also add a little ambiance to the living room. The best part – these lanterns were only $12 apiece!
Since the lanterns aren’t very tall, they’d need to be elevated just a little bit. Did you know that books are the perfect accessory to elevate, or give height, to decor? Now you do! I use books all over to raise candles, vases, lamps, and lots of other decor accessories.
Painted books are actually quite popular these days. There are countless tutorials on how to paint books and stencil them. Some are fairly involved and require taking off the book jackets. Others are stamped with cute quotes and wrapped in ribbon.
Since my main goals were to add height for my lanterns and color to my TV stand, I didn’t want this to be too involved of a process. I’m also not trying to sell these to anyone, meaning they could be as imperfect as I was willing to accept and look at every day!
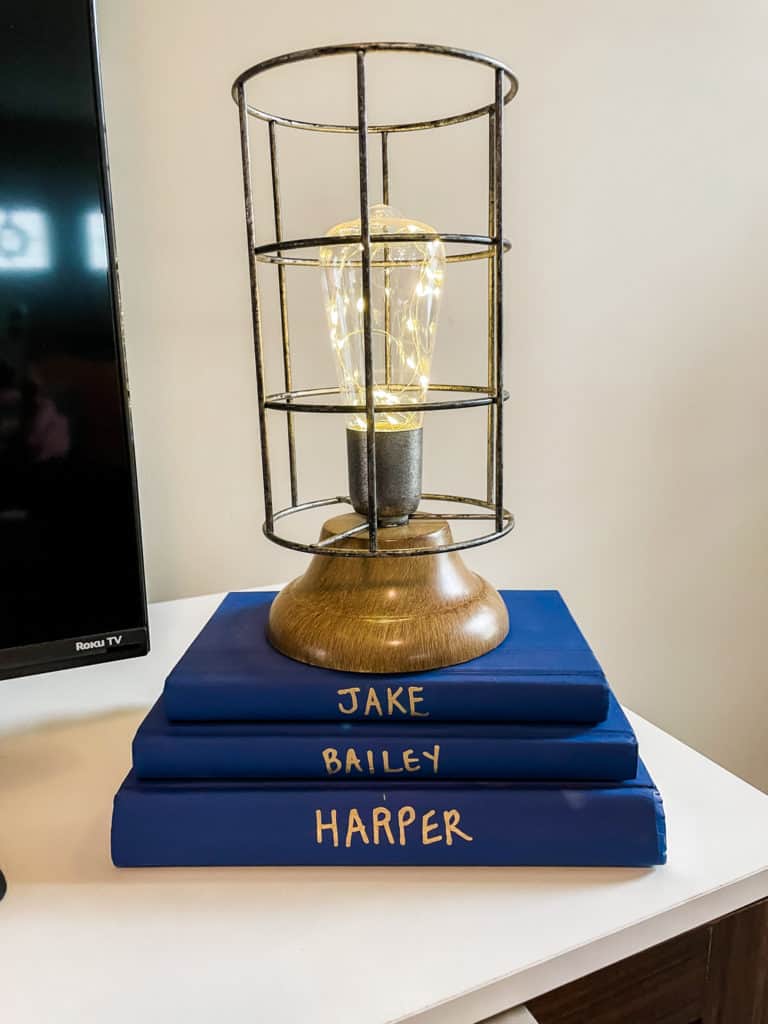
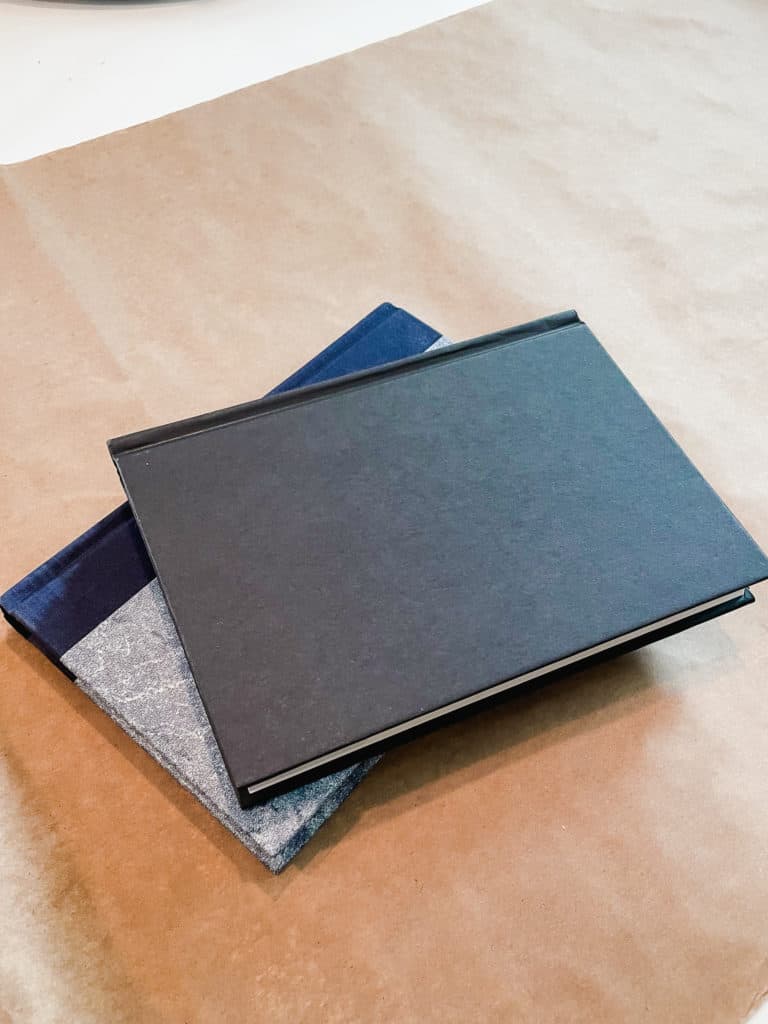
All in, the book part of this project cost about $15. I bought my books at a local Goodwill. I had my girls there with me. Once we found out what color was the special 50% off for the day, we honed in on books with those tags. My six books cost about $1.25 each. My chalk paint was on sale at Hobby Lobby and the only other supply I had to purchase was a fine point gold paint pen for our names on the spines.
Ready to make your own version of these painted books?
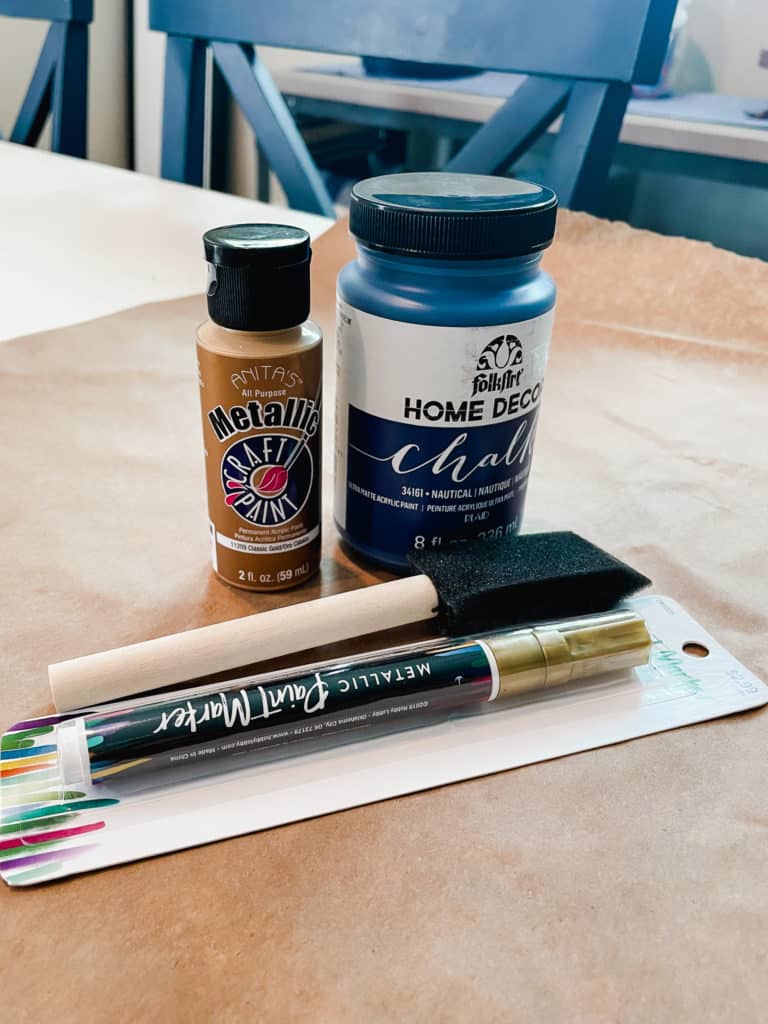
Supplies:
Books
Chalk Paint – I used this Folk Art Home Decor Chalk Paint in Nautical Blue
Fine Tip Paint Pen – I used Elmers Painters Fine Tip in Gold
Craft Paper – To protect your surface
What To Do:
- Remove book jackets from books.
- Cover the surface where you’ll be painting with craft paper or newspapers to protect it from any paint splatter.
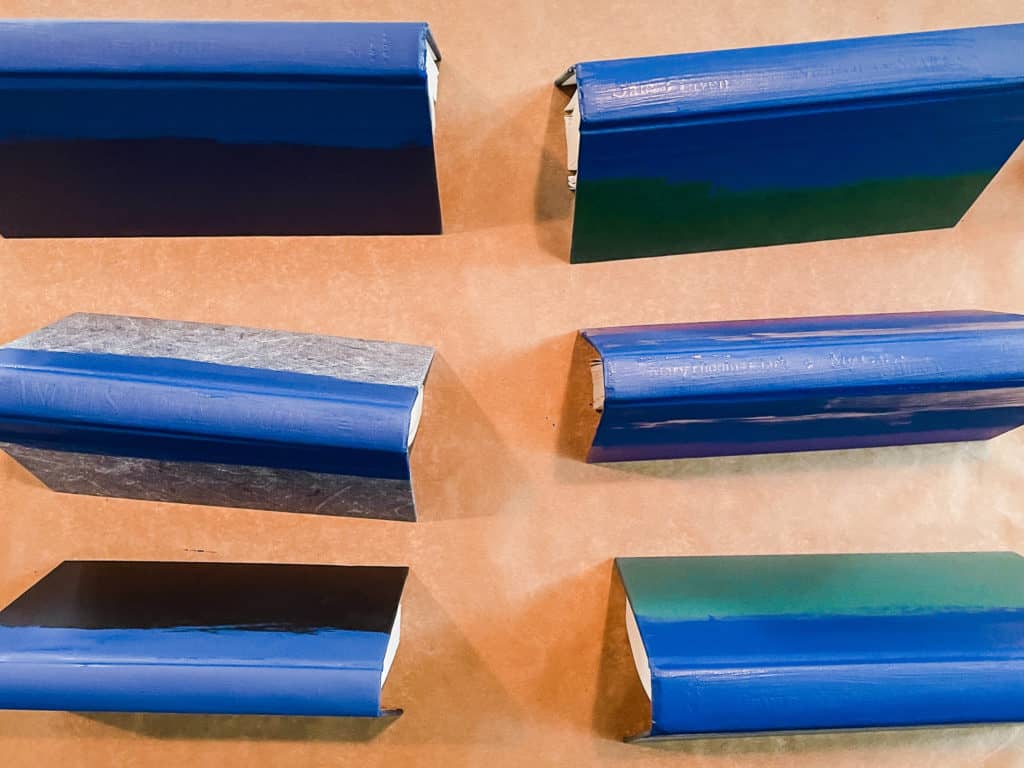
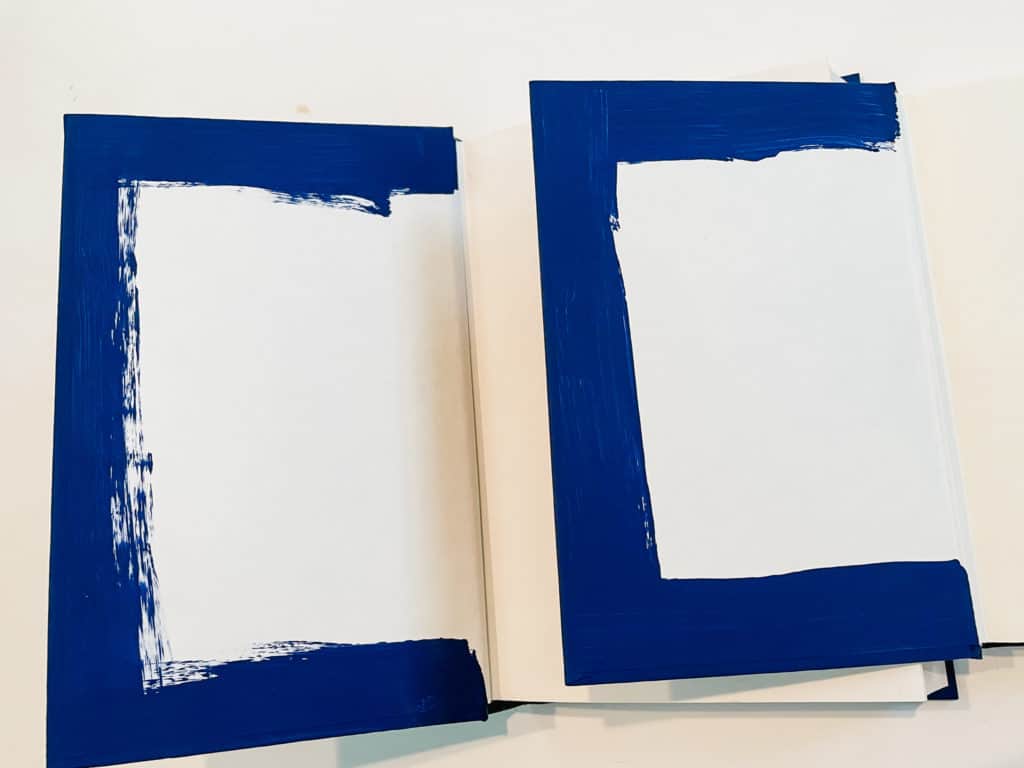
- Paint the spine of each book and let dry for an hour or so. Repeat this process until you are satisfied with the coverage of the original lettering on the book.
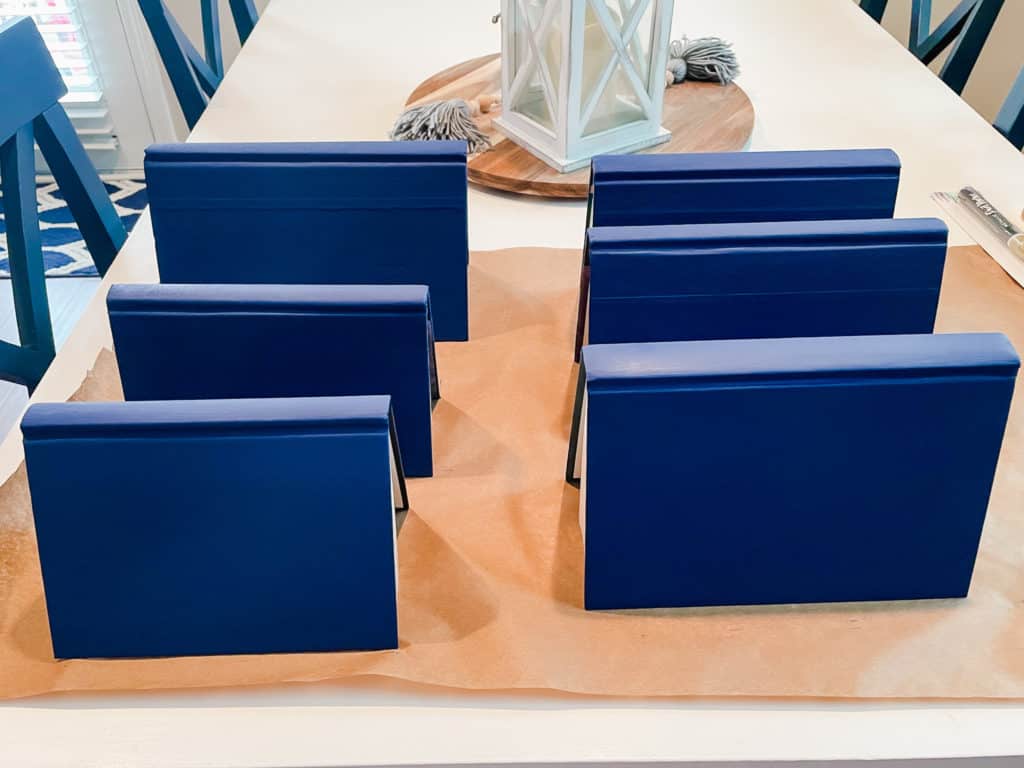
- Paint the front cover of the book and let dry for an hour or so. Repeat this process until you are satisfied with the coverage on your books’ surfaces.
- Paint the back cover of the book and let dry for an hour or so. Repeat this process until you are satisfied with the coverage on your books’ surfaces.
- Paint about a 1-inch strip along the inside edge of the front inside cover and edge of the books.
- Prop books open so that the inside edge of the front inside cover dries without pages touching the wet paint. Use a heavy object (rock, heavy bowl, etc.) to hold the pages down.
- Once the front inside edge is dry, repeat step #6 for the back inside cover and edge.
- Repeat step #7 for the back inside cover and edge.
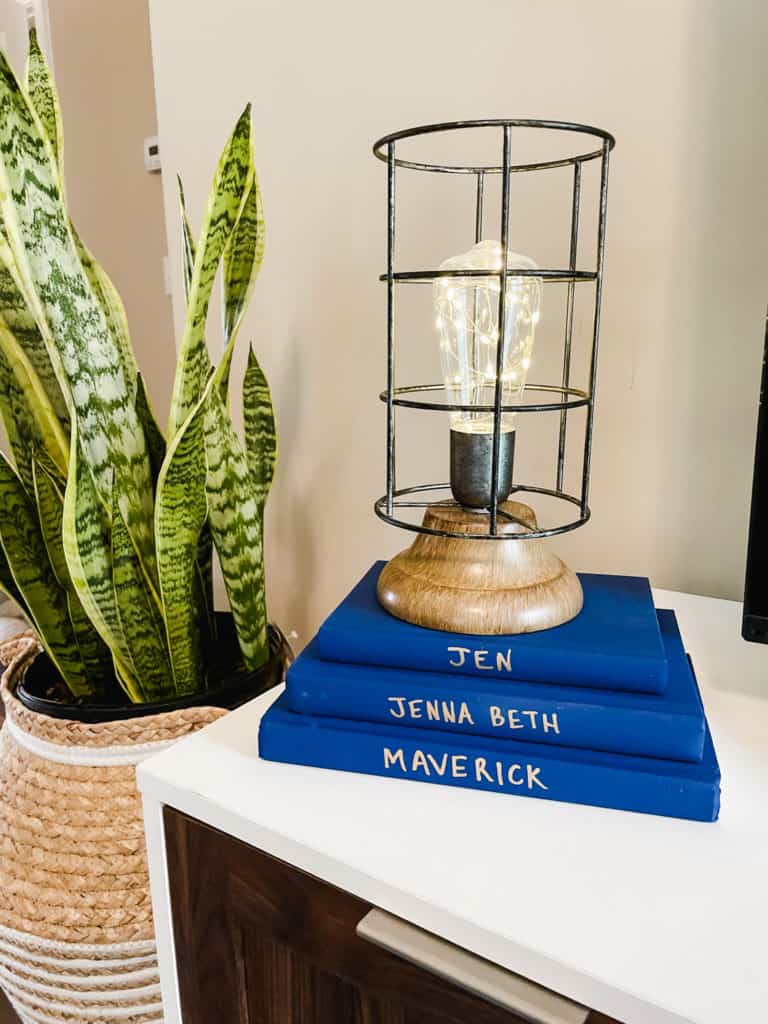
- This step is totally personal preference. When the book has been painted to your specification, decide where you want your lettering to be lined up. I decided on the center my books will be stacked from smallest to largest. If your books are all the same size, you may choose to line up your lettering on the left or right.
- Use a pencil to write your desired words, phrases, or names on the spines of your painted books.
- Trace over your penciled words/letters with your paint pen.
- Let your lettering dry to the touch.
- Use your painted books in your desired decor vignette in your home.
As I said before, there are lots of themes and variations you could use for this project. I know some seal their paint before using it as decor. I figure I can repaint mine to my heart’s delight if I’d like!
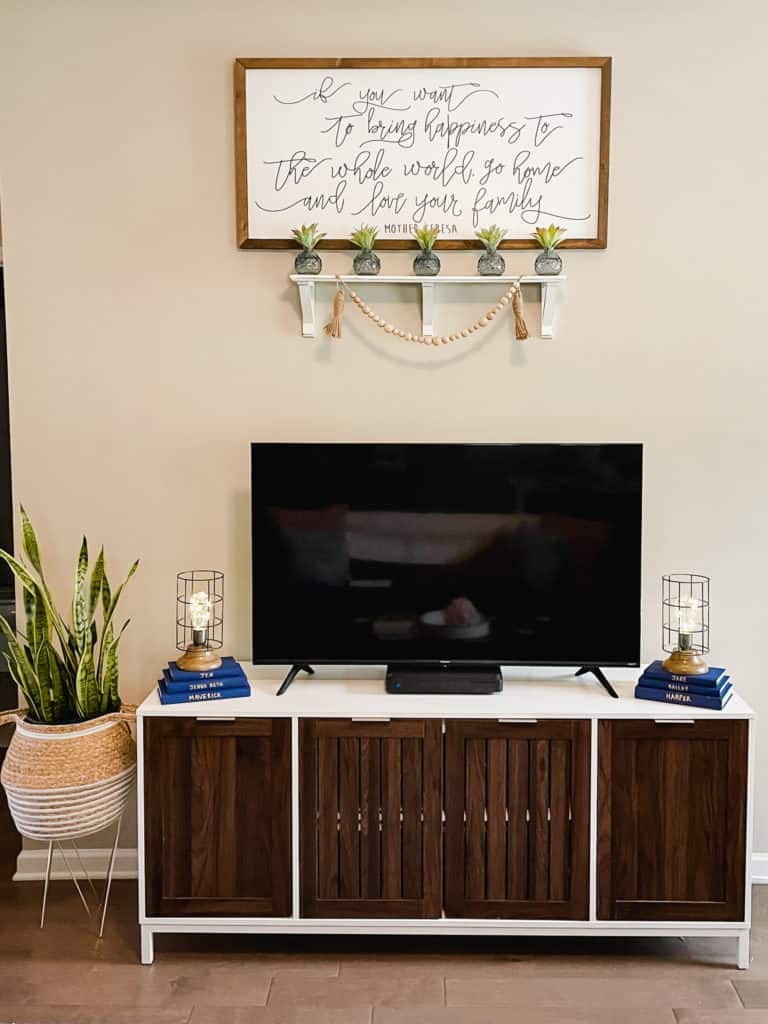
I’m really pleased with how these turned out and the little pop of color they add to my TV stand. Are they perfect? Of course not, but this is a very simple project that can be tweaked and redone over and over!
Pin For Later


I love the painted books! I am going to have to try this craft. Thank you for sharing.
Thank you! It was so easy (and imperfect)! Thanks for stopping by!
Elizabeth,
Do you have a website for “pinecones”?
Thanks,
Pat
I absolutely love DIY projects! Most of my home is decorated this way.
Thanks for stopping by! I love DIYs, too. I just need more time to do them!