A few years ago, I wanted a large wall calendar for content planning – so I made some. That post was wildly popular so I thought I’d make another DIY Wall Calendar that’s even easier to make! Follow along to create your own Large Wall Calendar!
It turns out that many people either need a large wall calendar or want to make do a DIY wall calendar, for whatever reason.
Maybe it’s cost.
Maybe it’s wanting a specific size frame.
Could be that people want space in each day to write all of the places their family is supposed to be on any given day!
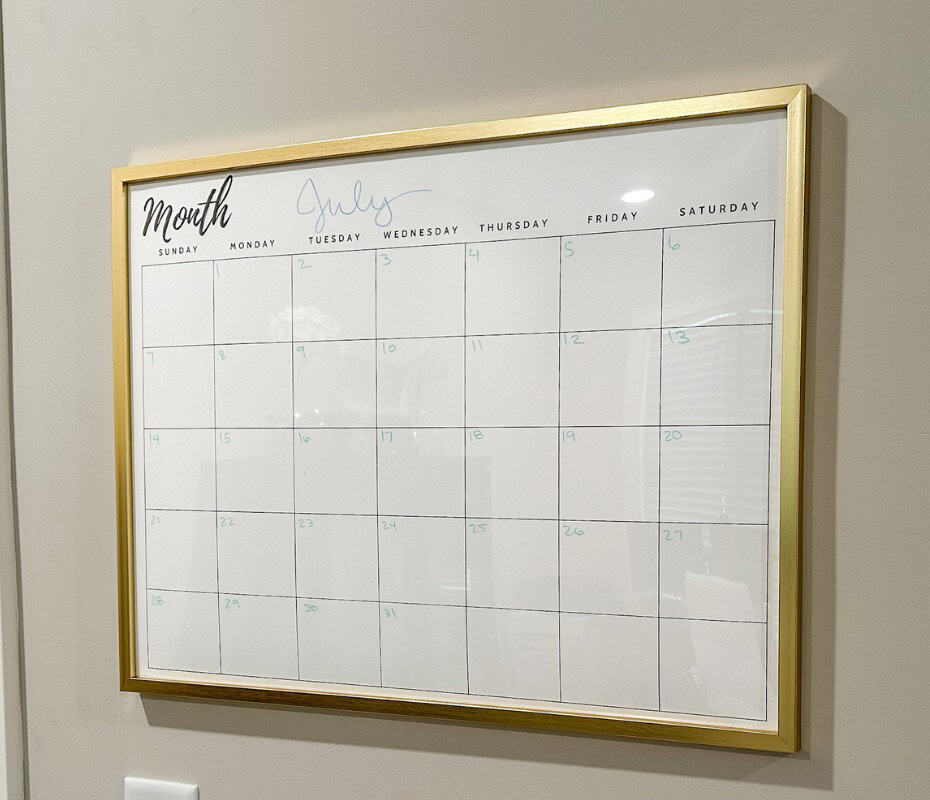
*This post contains affiliate links. Any purchase you make by clicking one of my links affords me the ability to make a small commission off your purchase.
My First DIY Wall Calendar
You can hop over to the original blog post for this large wall calendar I made in 2021 or so.
To be honest, these two large calendars I made were far from perfect, but they were usable for my purpose. I wanted each square to be about the size of a square post it note.
Since I was about the only person who ever saw them, except for the people who see them via google search, I didn’t think much of their imperfections. Surprisingly, the post of the first DIY Wall Calendars is one of the highest ranking posts in Google Search when someone searches for large wall calendar. Say what???
Recently, I decided that I’d like to make a better, prettier version of a large wall calendar I can hang in my office.
Cue what I’m about to share!
My Second Wall Calendar How To
How to Make Your Own Large Wall Calendar:
Step 1: Print out a Large Poster Size Wall Calendar
One of my favorite ways to get large artwork is to buy it on Etsy and have it printed at my local Office Depot.
Did you know that you can get large, poster sized prints from Office Depot pretty inexpensively? And usually, my favorite part, there is a coupon of some sort! Bonus!!!
When I started thinking about recreating this Wall Calendar with a different, quicker approach, I immediately searched for calendar templates on Canva. I was able to find a ton!
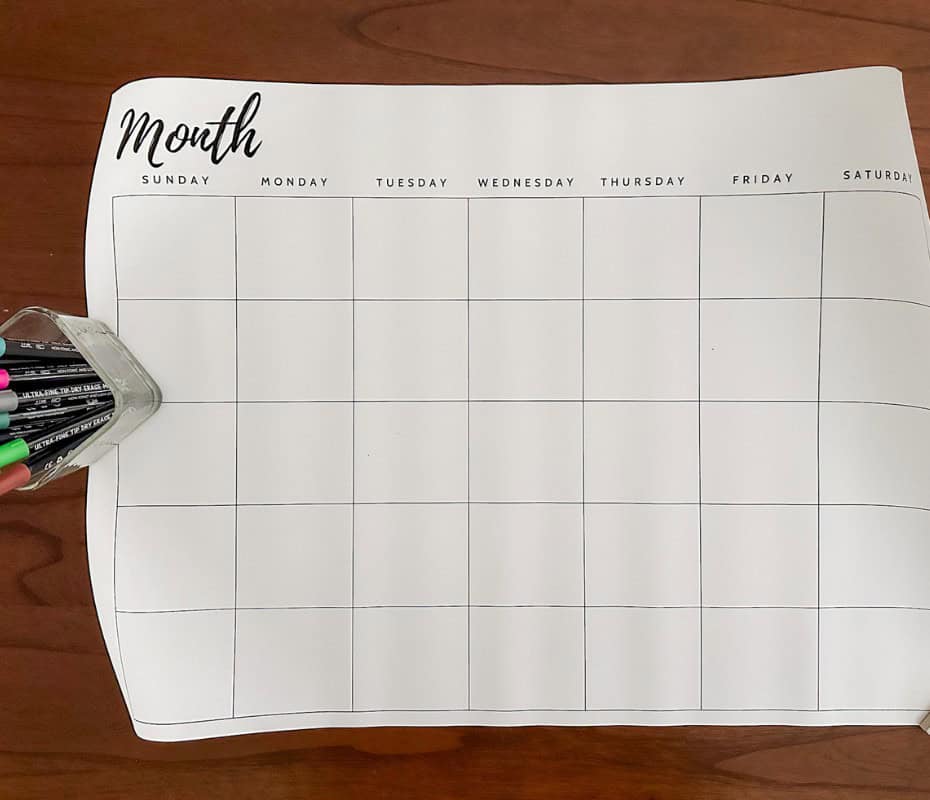
I basically took one and edited it to be the size I wanted, 18×24, and deleted any fluff!
Once I had it formatted correctly, I opened OfficeDepot.com, uploaded my PDF wall calendar and placed my pick up order.
And you’re in lock because I’m going to give you the landscape version of my calendar poster PDF so you can print it yourself! You’re welcome! You’re Welcome!
Are you now singing Moana songs? Sorry!
Step 2: Buy a Large Inexpensive Frame
If you’re like me, you may have a stash of large frames that you’ve not hung on your wall yet. Unfortunately, I didn’t have an 18×24 frame laying around. Shocker!
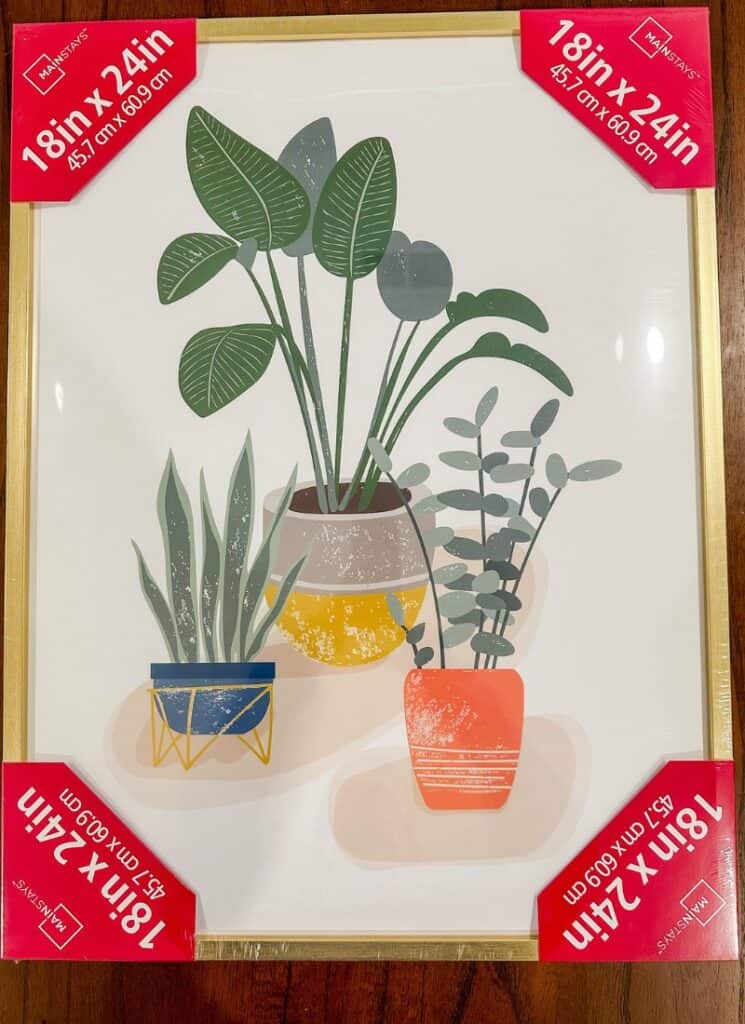
I was able to find that Walmart carries a large variety of poster size frames that are fairly inexpensive. They’re not the most high quality frame, but for our DIY Wall Calendar, they definitely fill the need.
If I had needed 2 frames, Michaels was actually doing a buy one, get one deal on frames, but I only need 1 frame. I have a large stash hiding in my storage area!
Step 3: Procrastinate
This part is optional, but is part of every project I do!
I’ve had the supplies for this project sitting in my office for almost 2 weeks now and have yet to put the poster in the frame!
It’s the pictures I want to have for this post that are the hold up. If you want to know what I struggle with. most on this blog, the truth is the pictures – the photos! There you have it!
Step 4: Prep the frame for inserting the picture
I know this is really starting to sound very simplistic, but I legitimately need this DIY tutorial to be 5 steps! So bear with me.
You’re going to need to remove the plastic wrapping from the frame.
Then you’ll need to remove the backing for the frame and remove the pretty fake picture that the frame company has in the frame for display purposes.
Shockingly, the picture in this frame is actually pretty. Maybe I’ll reuse it somewhere!
You’ll also want to wipe down the glass or acrylic covering of the frame to remove any dust or fingerprints before you insert the wall calendar poster.
Step 5: Place your Large Wall Calendar Poster in the Frame
Once your frame is prepped, lay it face down (glass or acrylic cover on the bottom) on the floor or large flat surface.
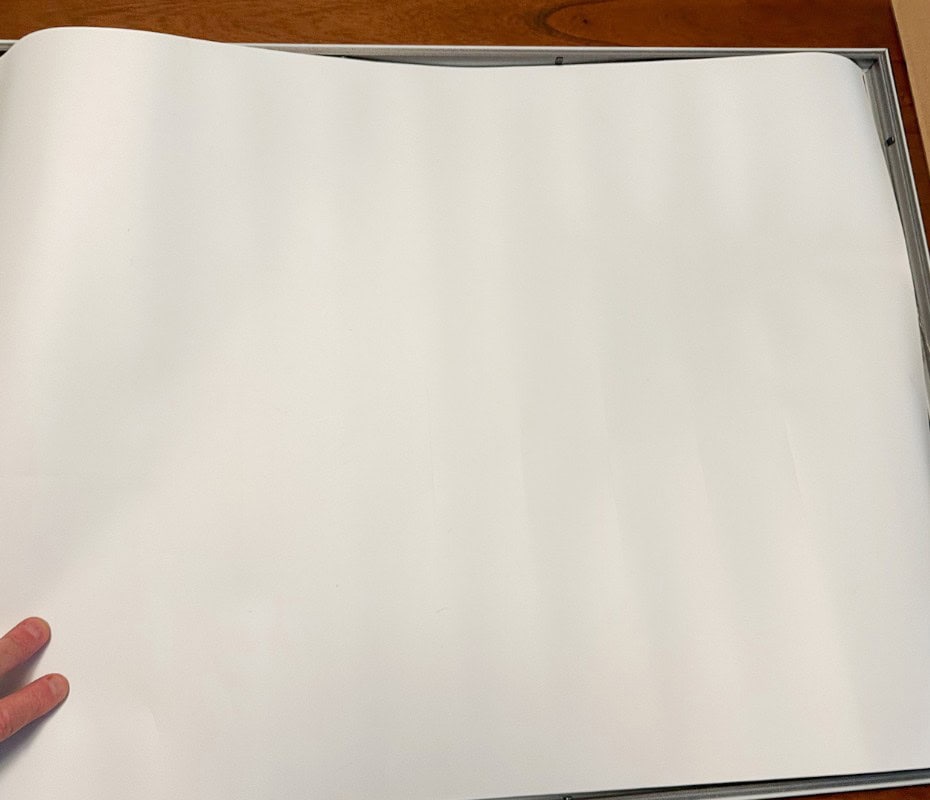
Now you’ll simply unroll your large Wall Calendar poster and place it flat on the glass or clear acrylic/plastic covering.
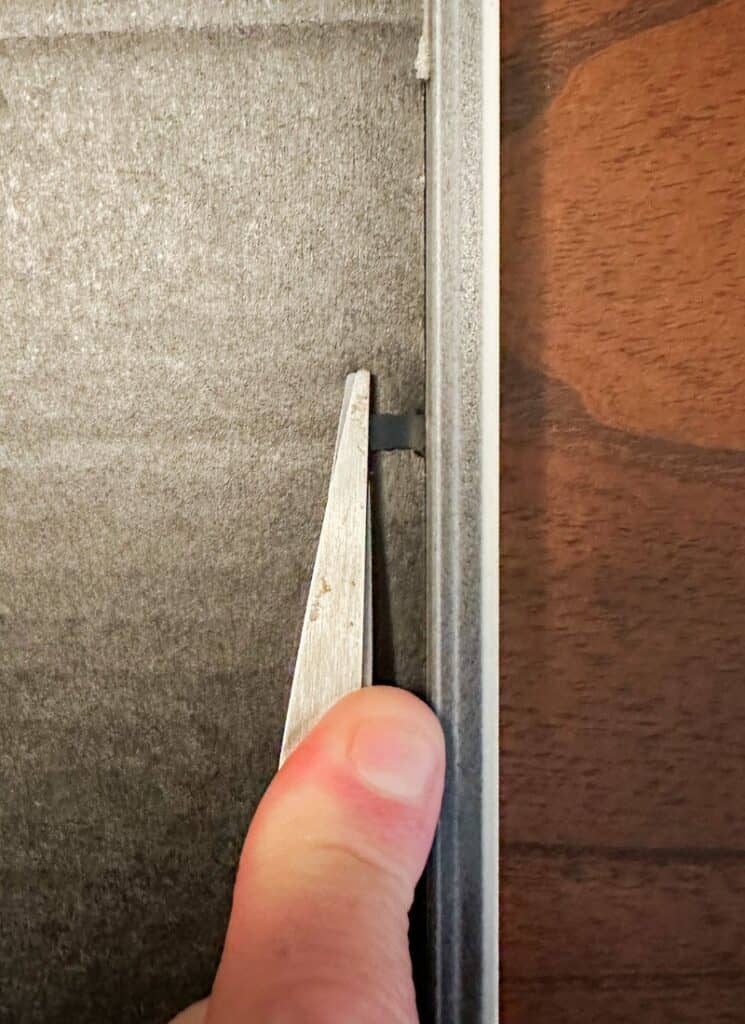
Place the back covering on top of your large wall calendar poster and fasten the backing closed with whatever mechanism your frame came with. Could be metal brads to bend or little arrow shaped closures that rotate to close the backing onto the frame.
Step 6: Hang your DIY Wall Calendar in the place where you’re going to use it.
I’m going to put this one in my office so that I can have a reminder of things I need to do for the blog, but also of family obligations I have that I will forget about while stuck in my dungeon office!
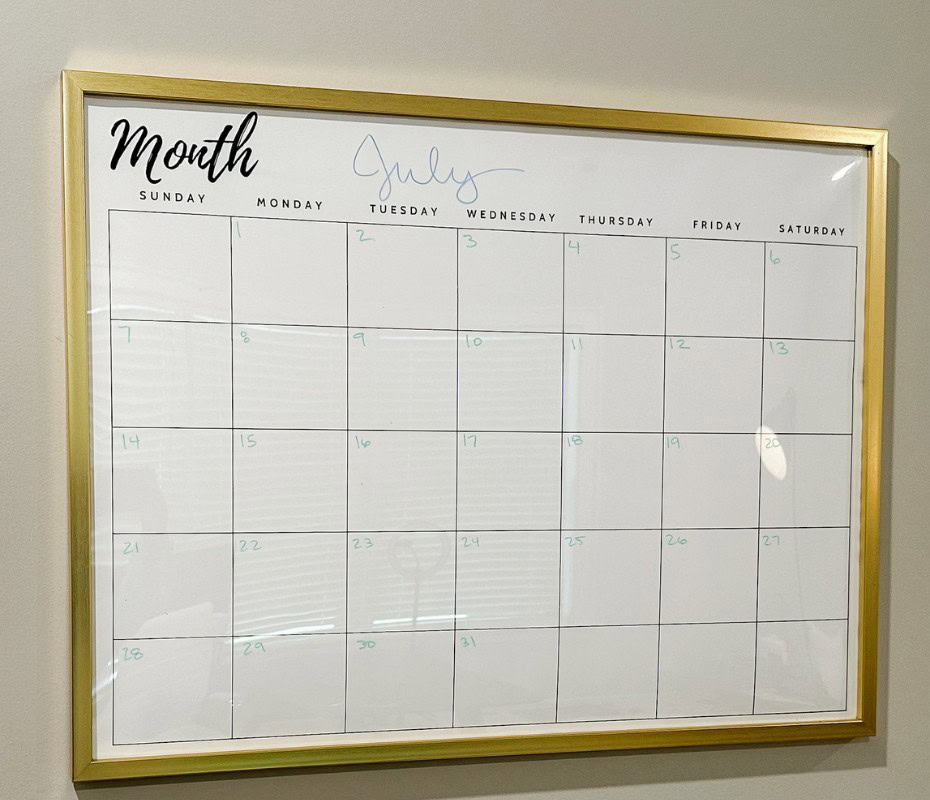
Make sure that your frame is hung level.
You’ll also want easy access to whatever dry erase markers you’re planning to use on your large wall calendar. Something like this marker holder would be perfect!
Have you ever resorted to making your own large wall calendar because you couldn’t find one that met your needs?
Shop this post






Leave a Reply