I needed large wall calendar to help plan blog content. Instead of buying wall calendar that I wasn’t sure would work, I decided that I could make a DIY Wall Calendar using supplies I already have at my house.
If there’s one thing I’m good at doing, it’s trying to do too much!
Wife.
Mom.
Full Time Accountant.
Business Owner.
Blogger.
Social Media Manager.
Geriatric Dog Caregiver.
I keep a pretty well-updated wall calendar for all the kids’ activities.
My paper planner keeps me on top of all of my own personal appointments and client sessions.
One place that I fall short – and practice lots of “out of sight, out of mind” – is my online spaces.
This blog and all my social media accounts.
Emails and organizing inquiries.
Because these are hidden in the digital depths of my phone and laptop, I tend to fly by the seat of my pants with these.
Willy-Nilly isn’t necessarily the best strategy for growing an online presence!
I wanted a Large Wall Calendar with daily spaces large enough to put a 3×3 Post-It.
I searched online and found a few that ‘might’ work, but because I couldn’t touch them or measure their exact daily square size.
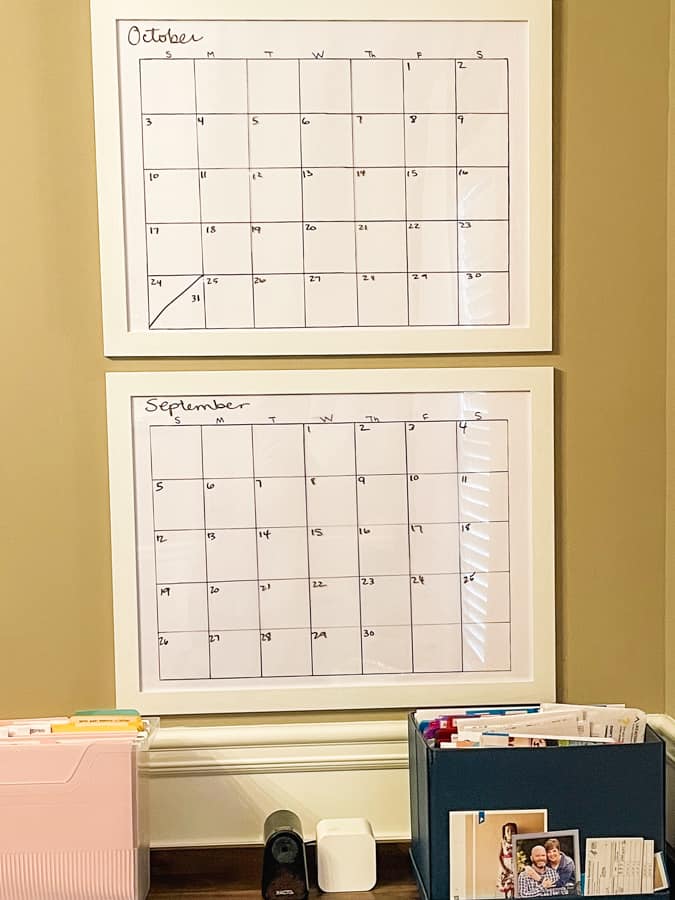
Hence, why I decided to just create my own DIY Wall Calendar, but make 2 of them!
*This post contains affiliate links. Any purchase you make through my links allows me to earn a small commission at no additional expense to you.
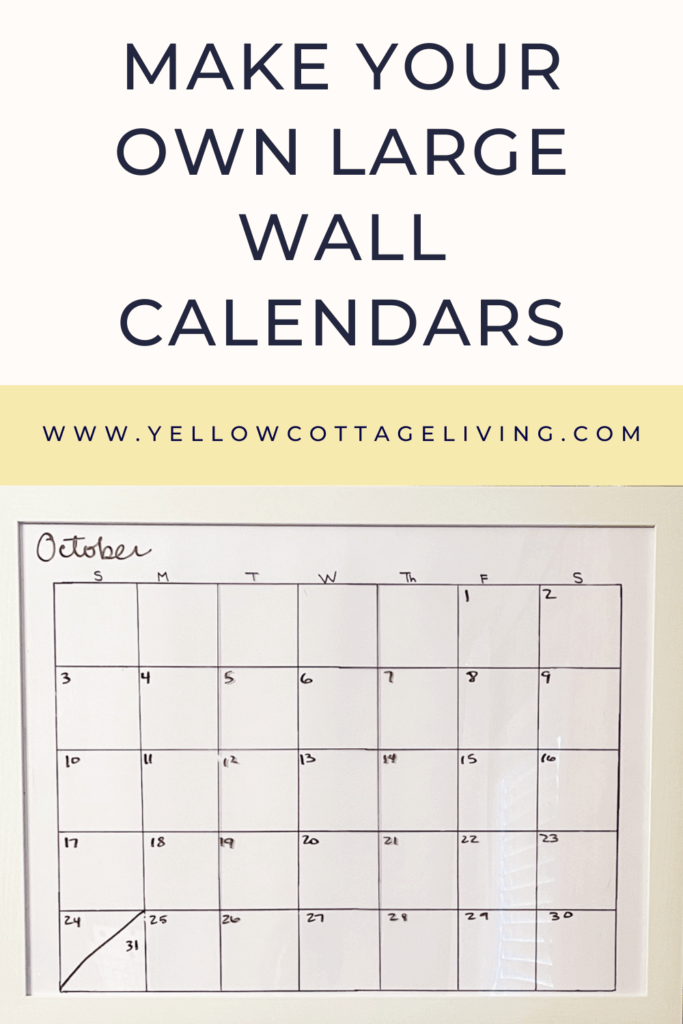
Let’s Make a DIY Large Wall Calendar
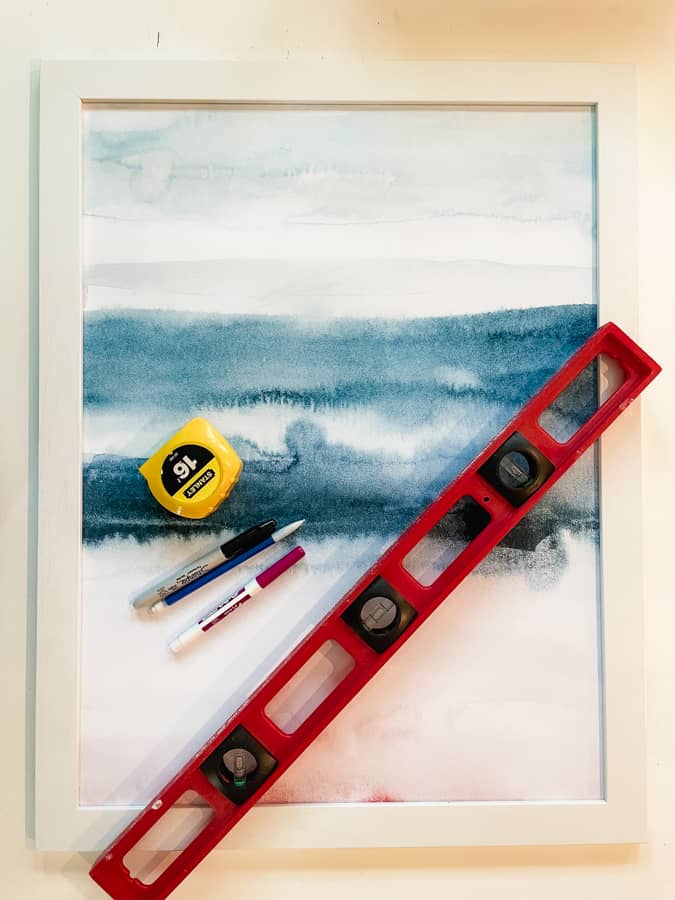
Supplies:
Large Picture Frame – I had these IKEA frames from another project
*Before you buy your picture frame, you’ll want to determine how large you want the daily squares on your wall calendar to be. That’ll dictate the size picture frame that you’re going to want/need.
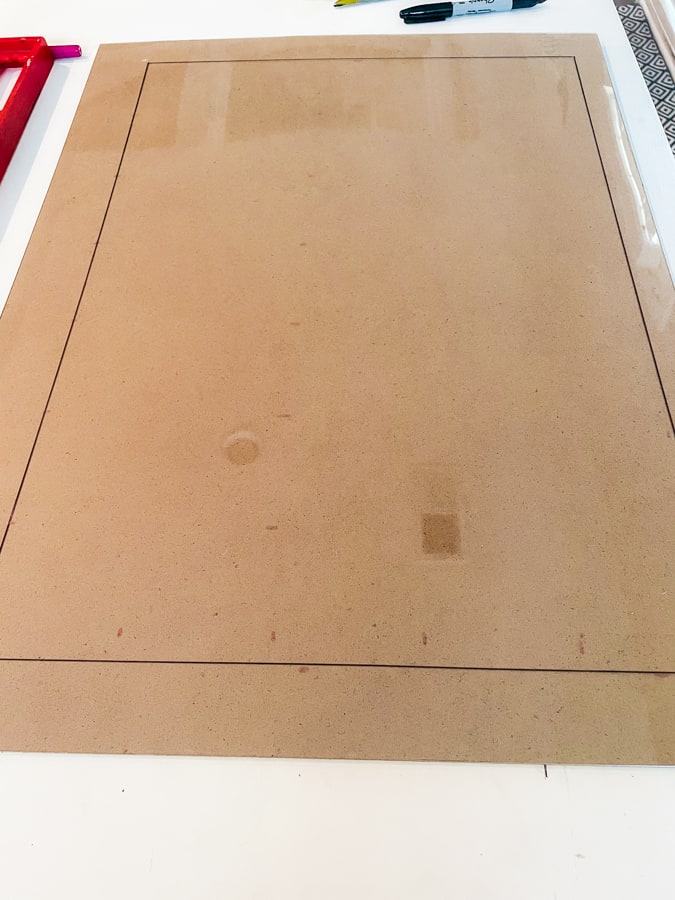
1. Create the Outside Border for the Large Wall Calendar.
For my calendar, I knew I wanted 3×3 square spaces.
I multiplied 3×7 – making the two short sides of my calendar 21 inches across.
I multiplied 3×5 – making the top and bottom of my calendar 15 inches from top to bottom.
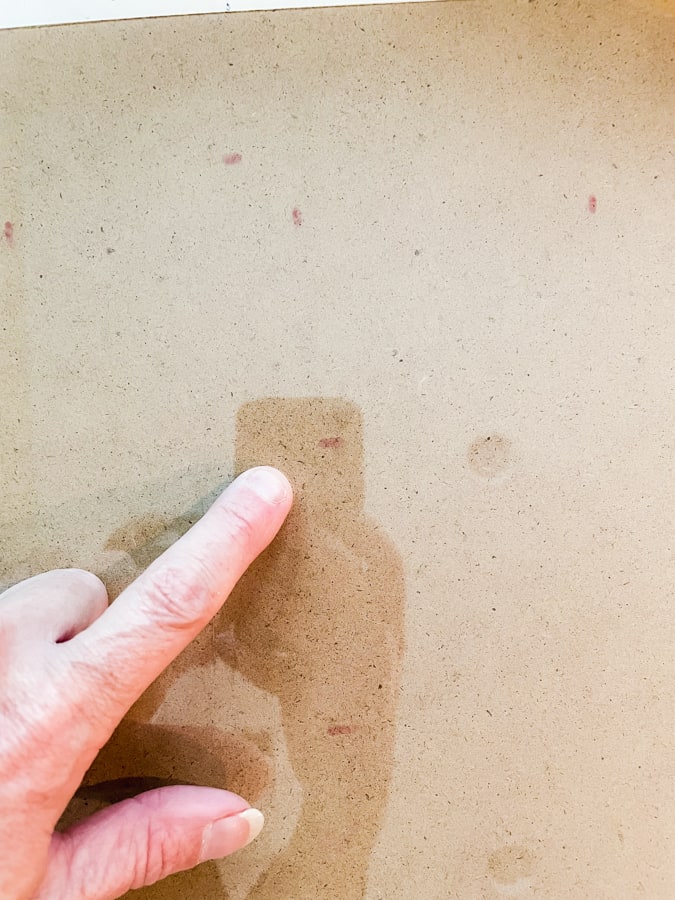
Find the center point of your picture frame surface.
*I used the plexiglass that came with my picture frame as the surface to create the calendar.
Once you know the center, divide your long side number by 2 and your short side number by 2.
Using a dry erase marker and your level, make marks along the top, bottom and two sides to serve as your guide for drawing your calendar border.
Once you have your guide marks, use a sharpie to create the full lines for the outline of your calendar.
2. Create the Vertical Lines for the DIY Wall Calendar.
Starting at the right side of your outline, use your ruler or tape measure to measure the distance you want the lines for your squares to be.
Use a dry erase marker to make the marks all the way across the outline at those increments.
You’ll want to make multiple marks from top to bottom to use as the guide to draw your solid line.
Once you have your guide marks in place, use the level to line up the guide marks.
Create a solid line with a sharpie.
3. Create Horizontal Lines for the Large Wall Calendar.
Using the same basic process you used for the vertical lines, create horizontal lines.
Start from the top outline and make even measurements, based on the size you want your squares, from left to right with a dry erase marker.
When all guide marks are in place, create a solid line from left to right with a sharpie.
4. Re-assemble the Picture Frame.
When the calendar outline and daily squares are all drawn in with sharpie, re-assemble the picture frame.
Be sure to put a blank white paper behind the drawn calendar so the lines can be seen.
You should be able to just turn the fake picture that came with the frame over.
If not, a piece of posterboard could be cut to size for the white background.
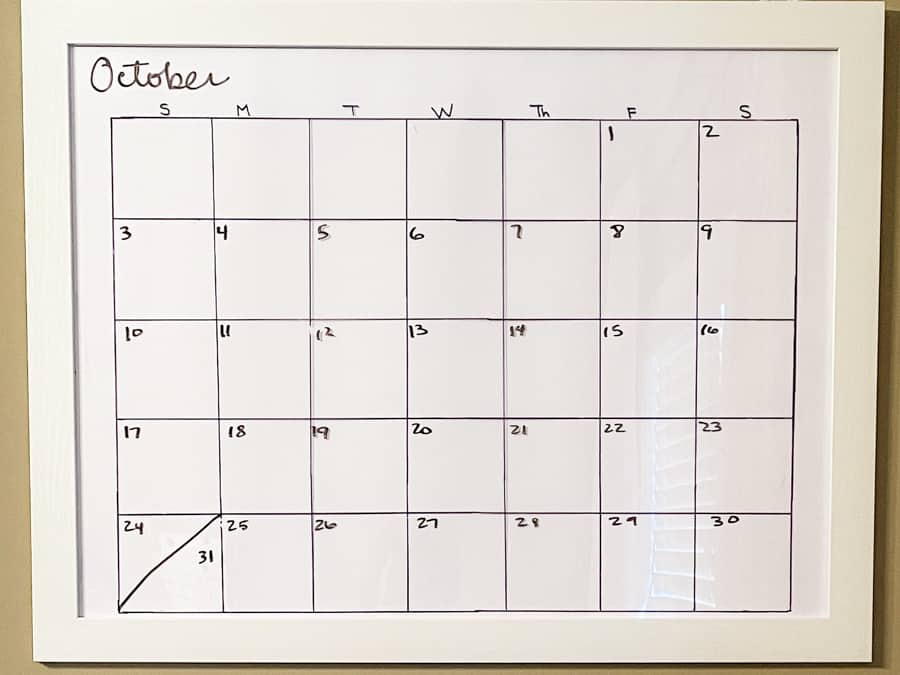
5. Enjoy your New Large Wall Calendar!
I love a project that is fool-proof!
I’m a big fool so that’s important!
If you aren’t satisfied with the way your calendar turned out, you can always take a magic eraser or use some other method for removing the sharpie from the plexiglass or glass.
Honestly, I redid one of mine because I didn’t do a good job of making my lines straight.
This is also one of those projects where I had to tell myself that I’m the only person who will ever look that closely at it so perfection wasn’t necessary!
So far I’m loving the visual reminder the Large Wall Calendar provides that I have things to do that are more important than going down whatever rabbit hole that draws me in this week!

I need to sand and paint the screw holes above these where I had a pegboard hanging before doing this project.
Anyone else in the 95% club?
Are you planning to do your own DIY Wall Calendar?
Maybe you just want to buy a Large Wall Calendar. Here are a few options!

Pin For Later
Other Posts You May Enjoy
Make Your Own Drop Cloth Curtains For Your Porch
Best Kitchen Organization Products
Want More Yellow Cottage Living?
Pinterest | Facebook | Instagram | LikeToKnow.It
Pinterest | Facebook | Instagram | LikeToKnow.It


Leave a Reply